
About this guide
This guide provides clear, step-by-step instructions on how to register an Azure App Registration and configure it for OAuth authentication with Microsoft Dynamics 365 Business Central. It covers creating the app registration, setting the required redirect URI, assigning delegated and/or application API permissions, granting admin consent, and generating a client secret for secure authentication.
| 1. Access the Azure Portal Sign in to the Azure portal with an account that has rights to create App Registrations and manage API permissions (often Application Administrator or Global Administrator, depending on tenant policy). |
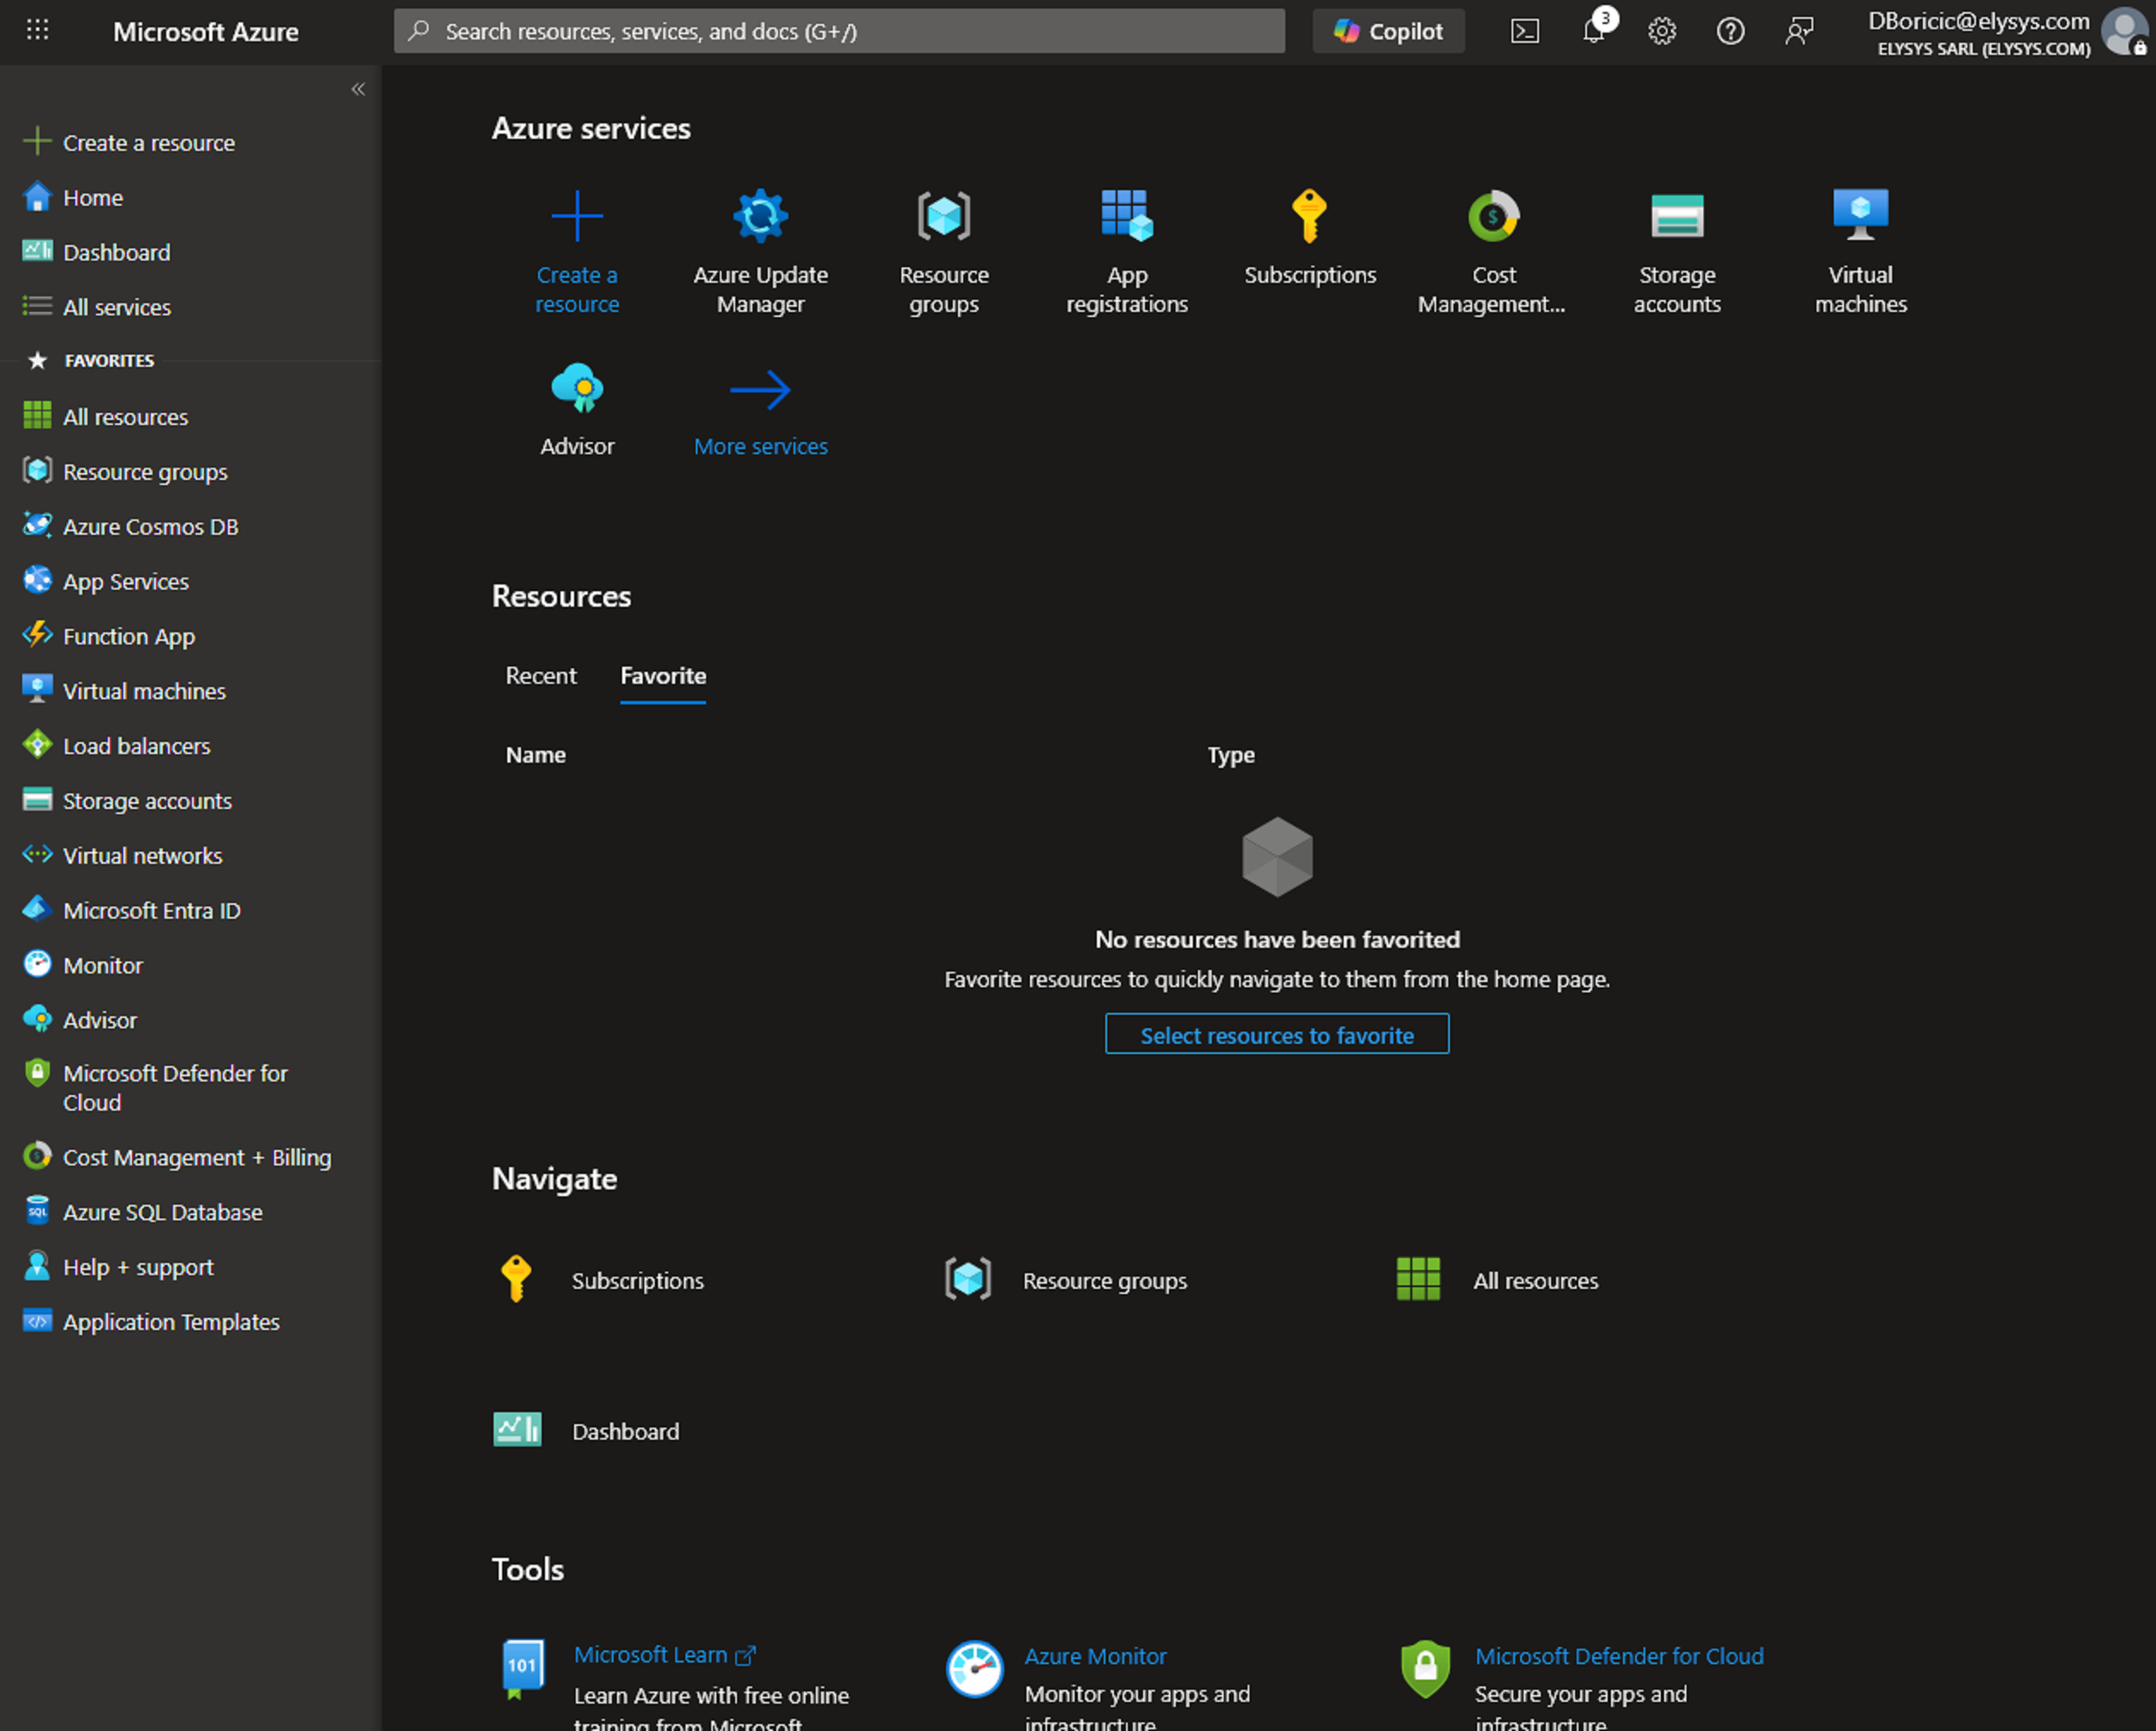 |
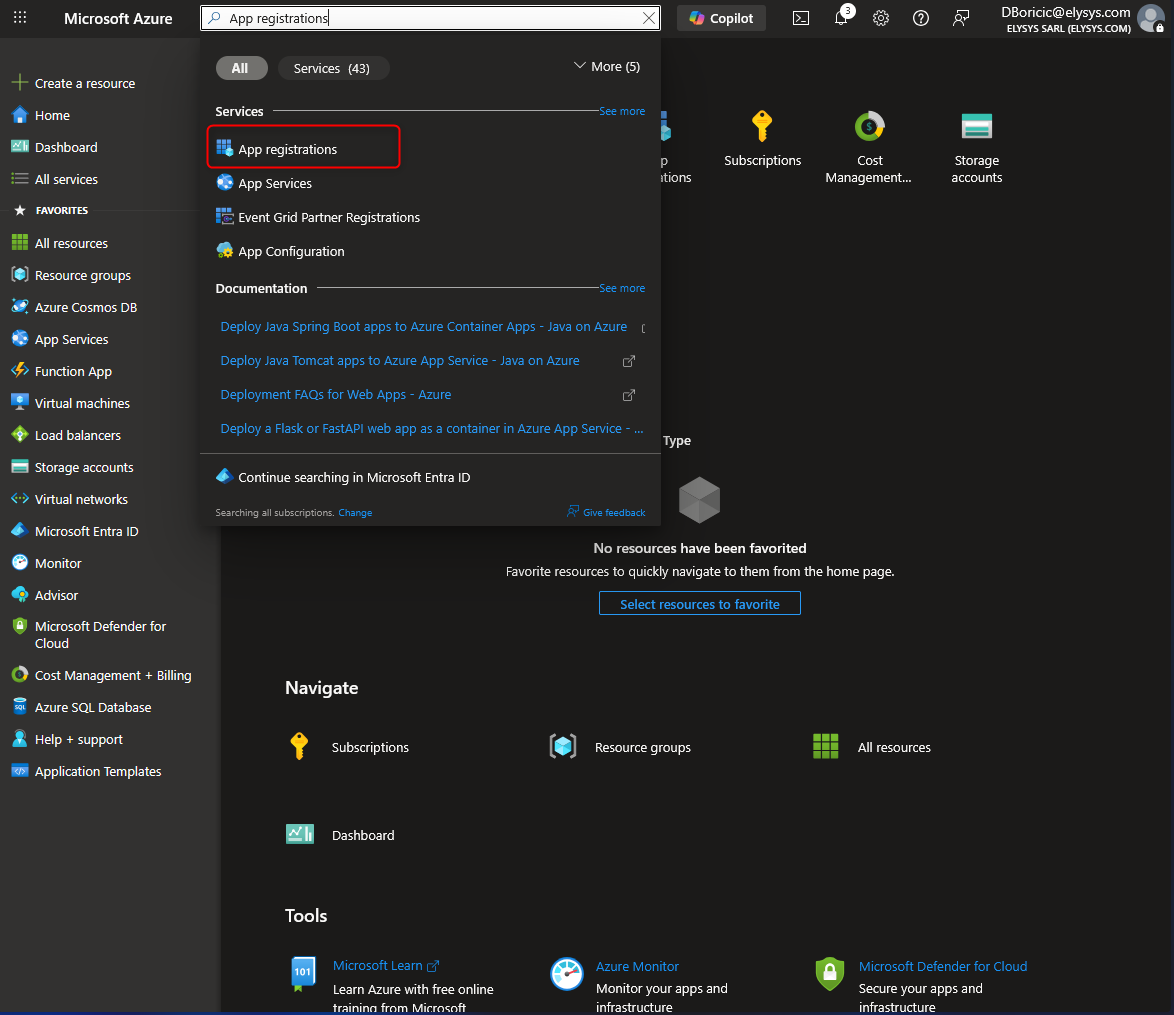
| 2. Open App registrations In the top search bar, type App registrations. Select App registrations from the results (this opens the Azure AD / Entra app registration area). |
 |
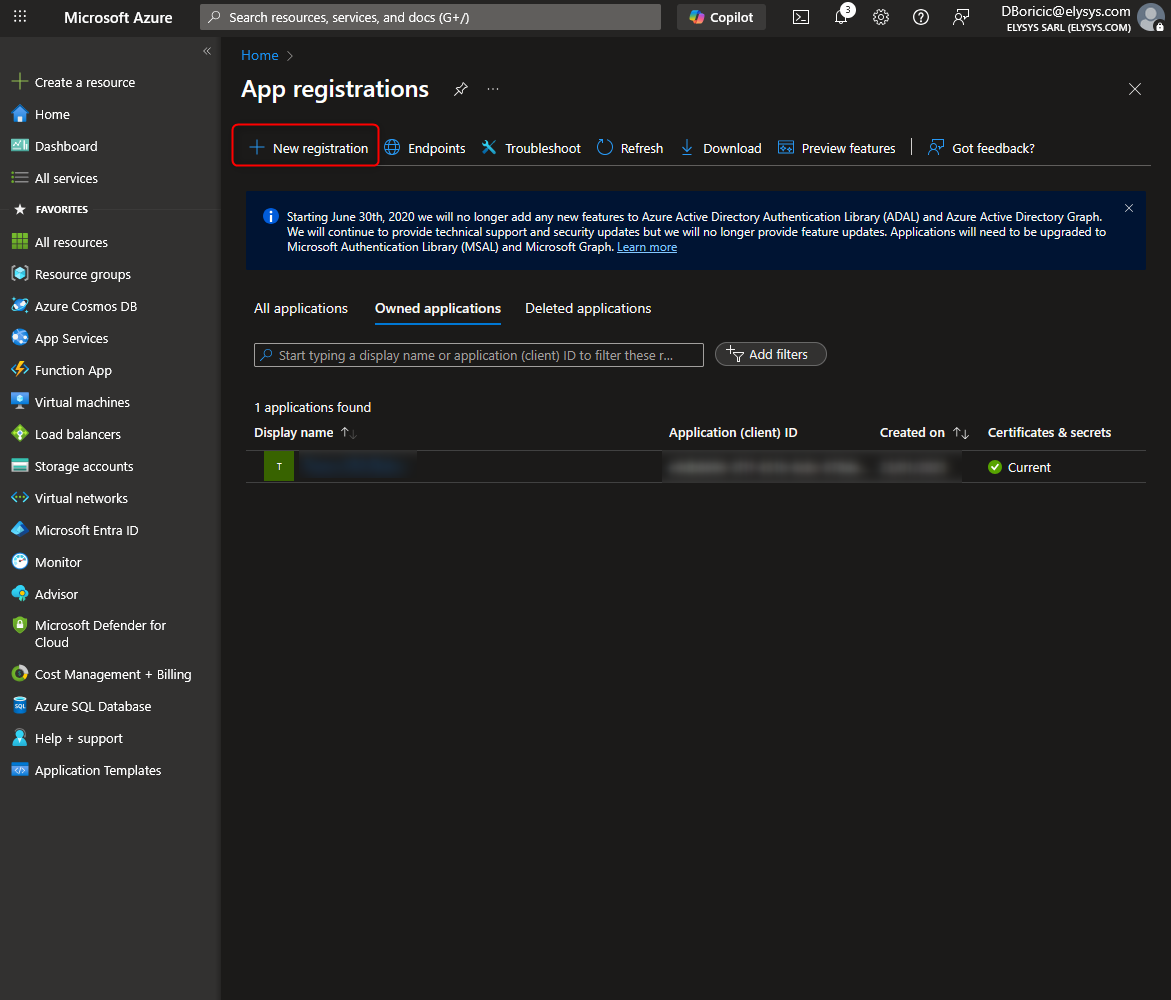
| 3. Create a new app registration Select New registration to start creating a new application identity in Azure. |
 |
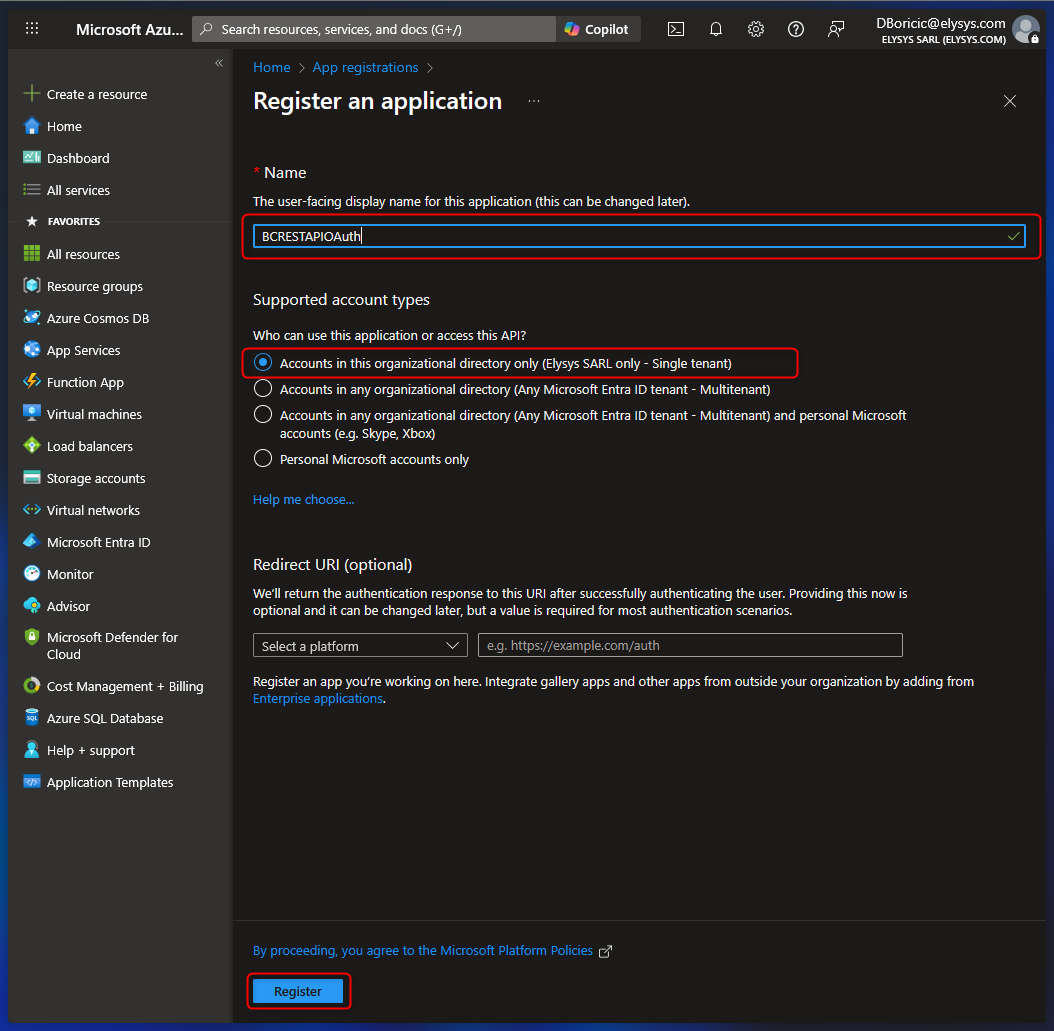
| 3.1. Fill registration basics Name: enter a clear name (e.g. BCRESTAPIOAuth). Choose Single tenant Click Register to create the app. |
 |
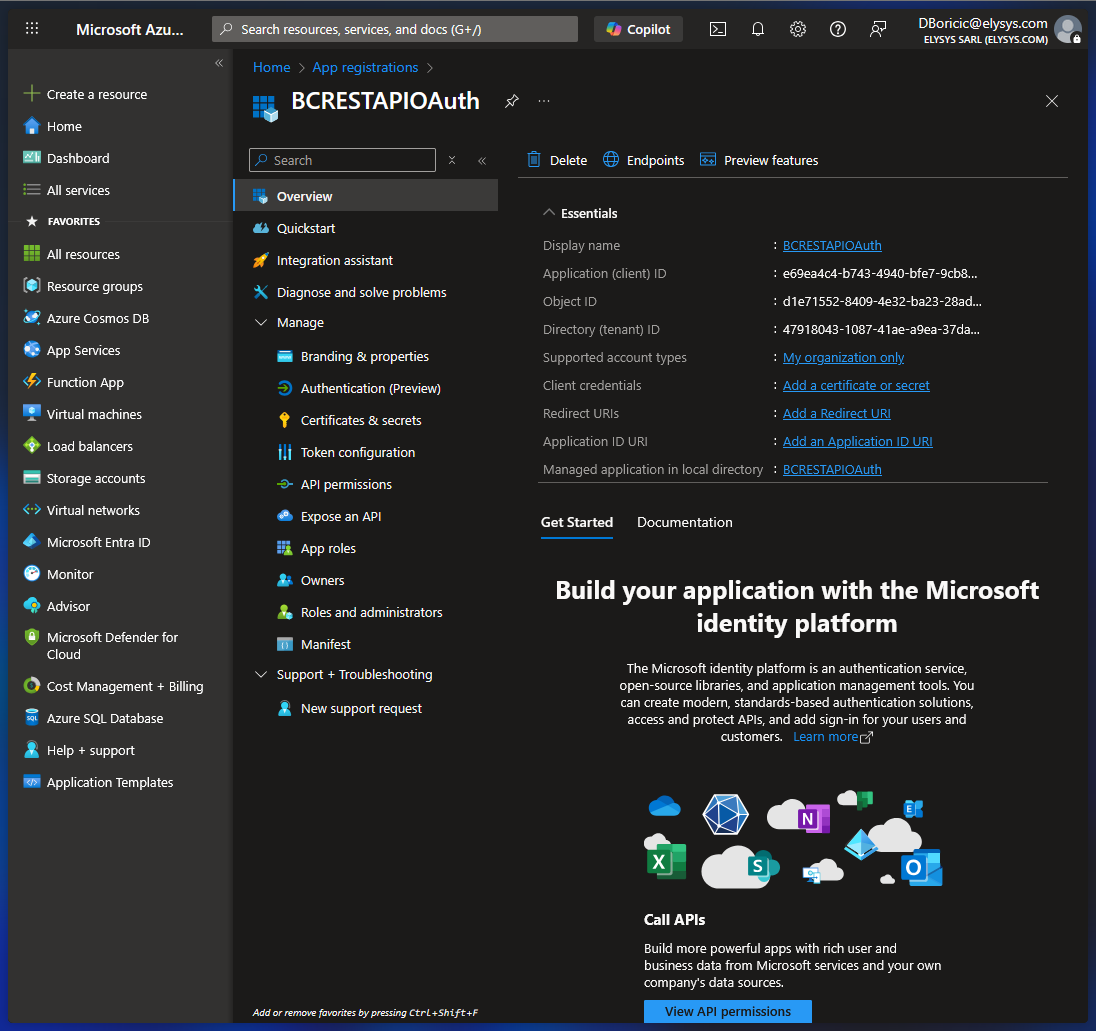
| 3.2. Confirm the app is created After creation, you will land on the app’s Overview page. Capture the key identifiers (you will typically need them later): Application (client) ID Directory (tenant) ID |
 |
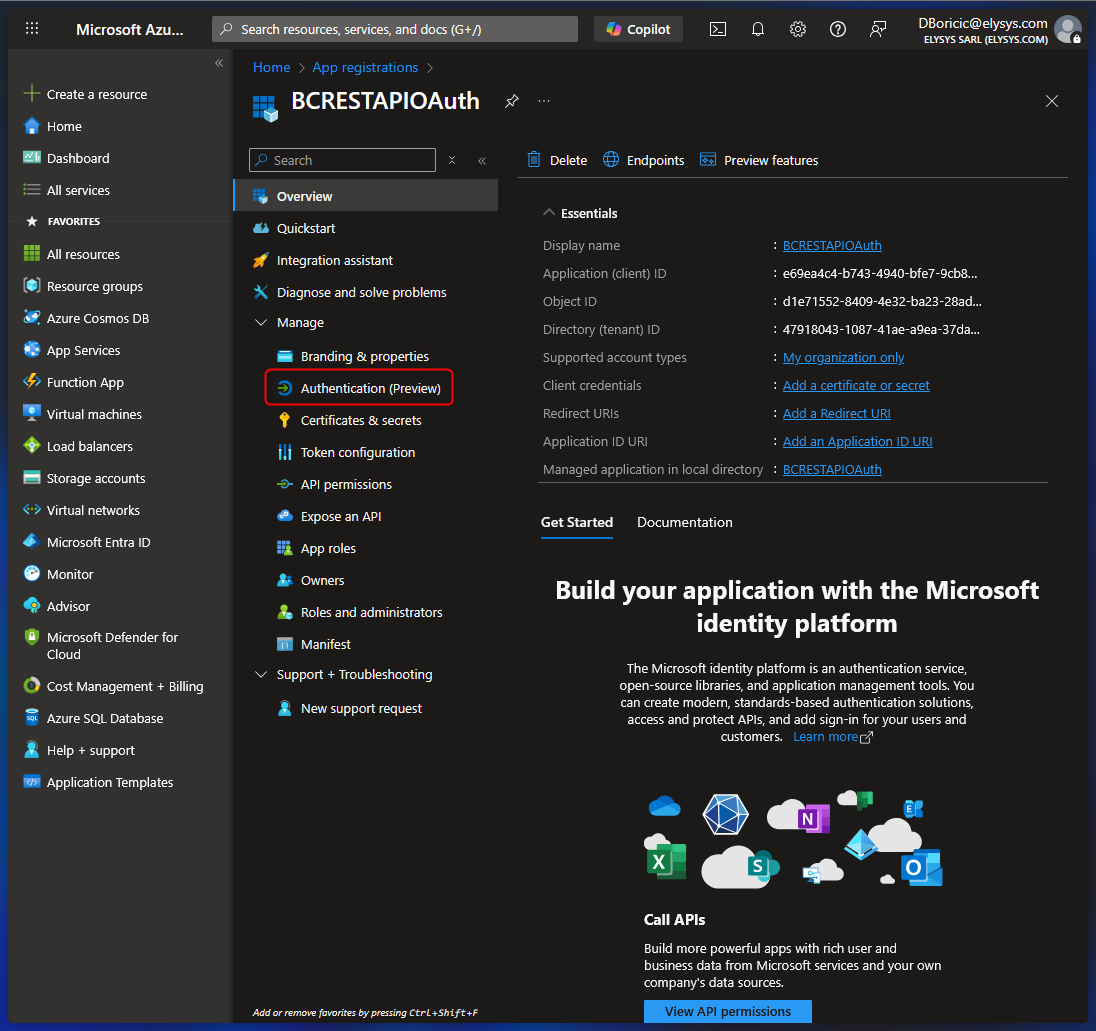
| 4. Configure authentication settings In the left menu of the app registration, select Authentication (this is where redirect URIs and platform settings live). |
 |
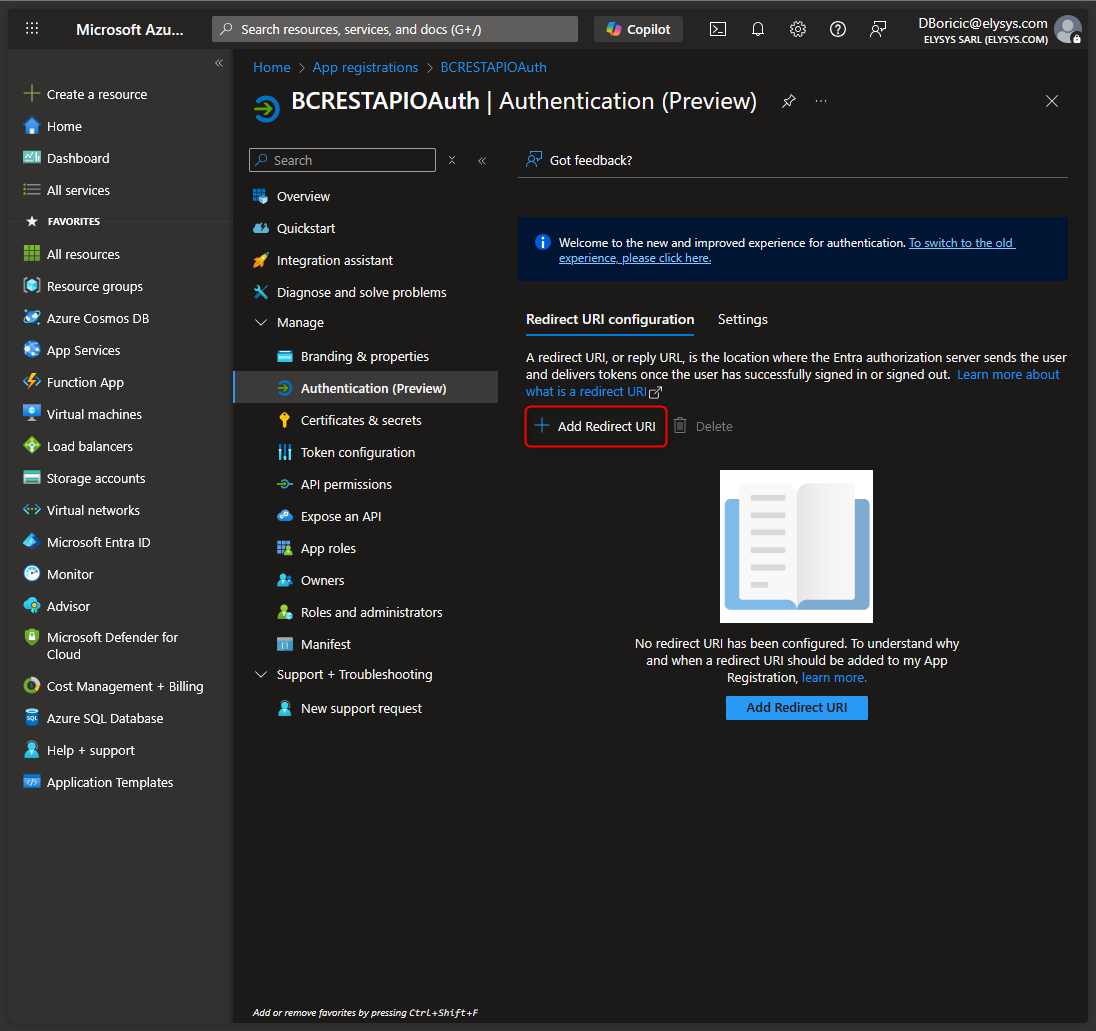
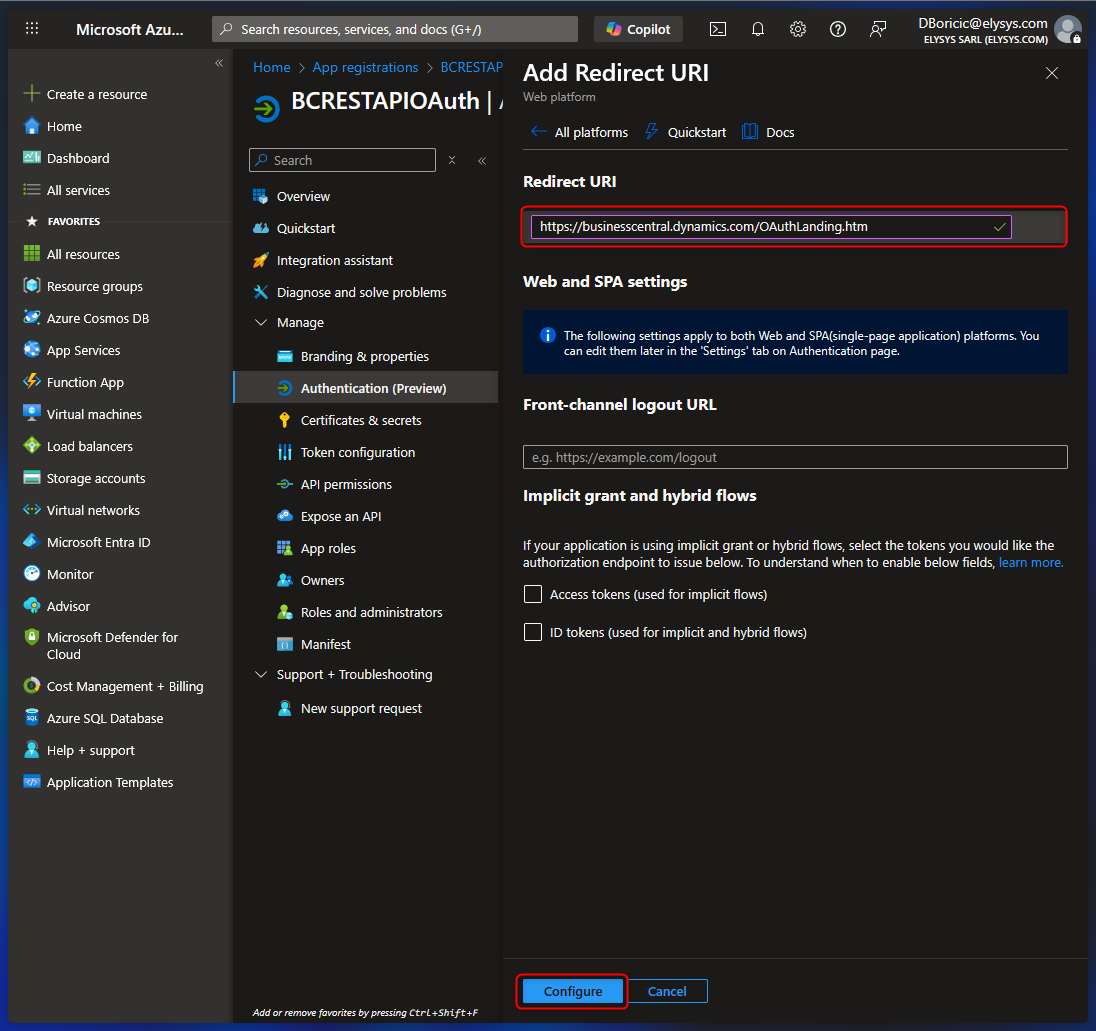
| 4.1. Add a Redirect URI Click Add a Redirect URI |
 |
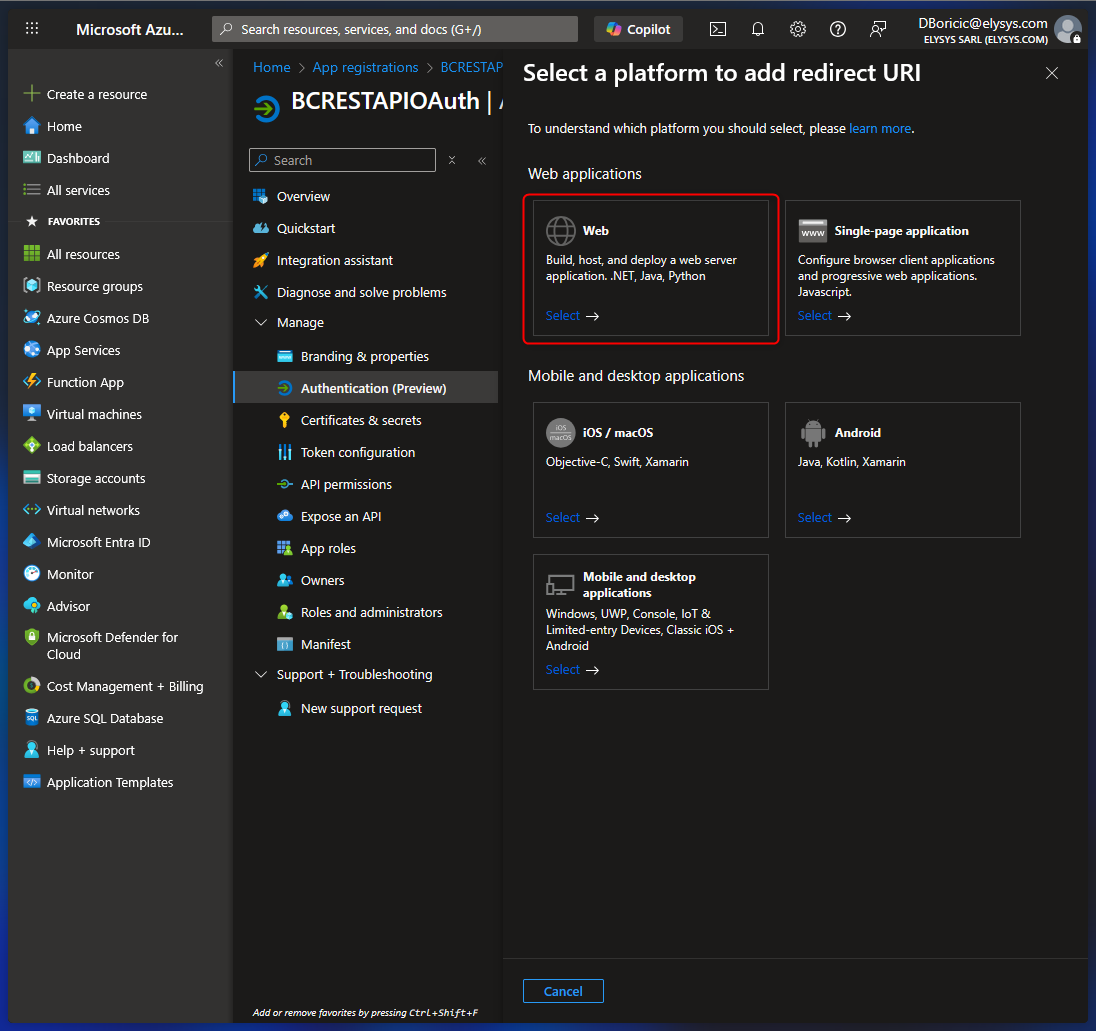
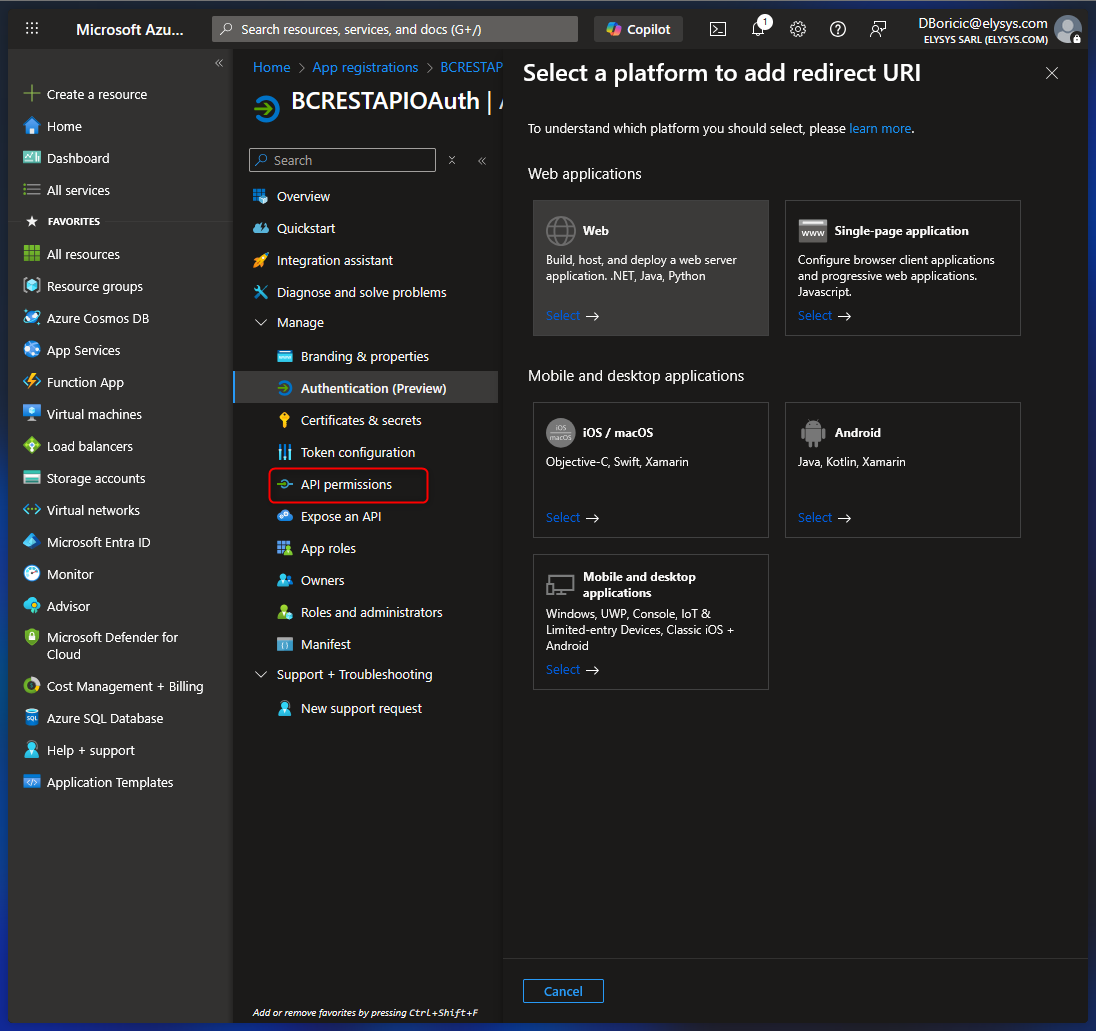
| 4.2. Choose platform type Select Web as the platform type (this matches how Business Central completes the OAuth flow). |
 |
| 4.3. Enter the redirect URl of the application https://businesscentral.dynamics.com/OAuthLanding.htm then choose Configure. |
 |
| 5. In the left menu, select API permissions. This defines what the app is allowed to access. |
 |
| 5.1. Choose Add a permission. | 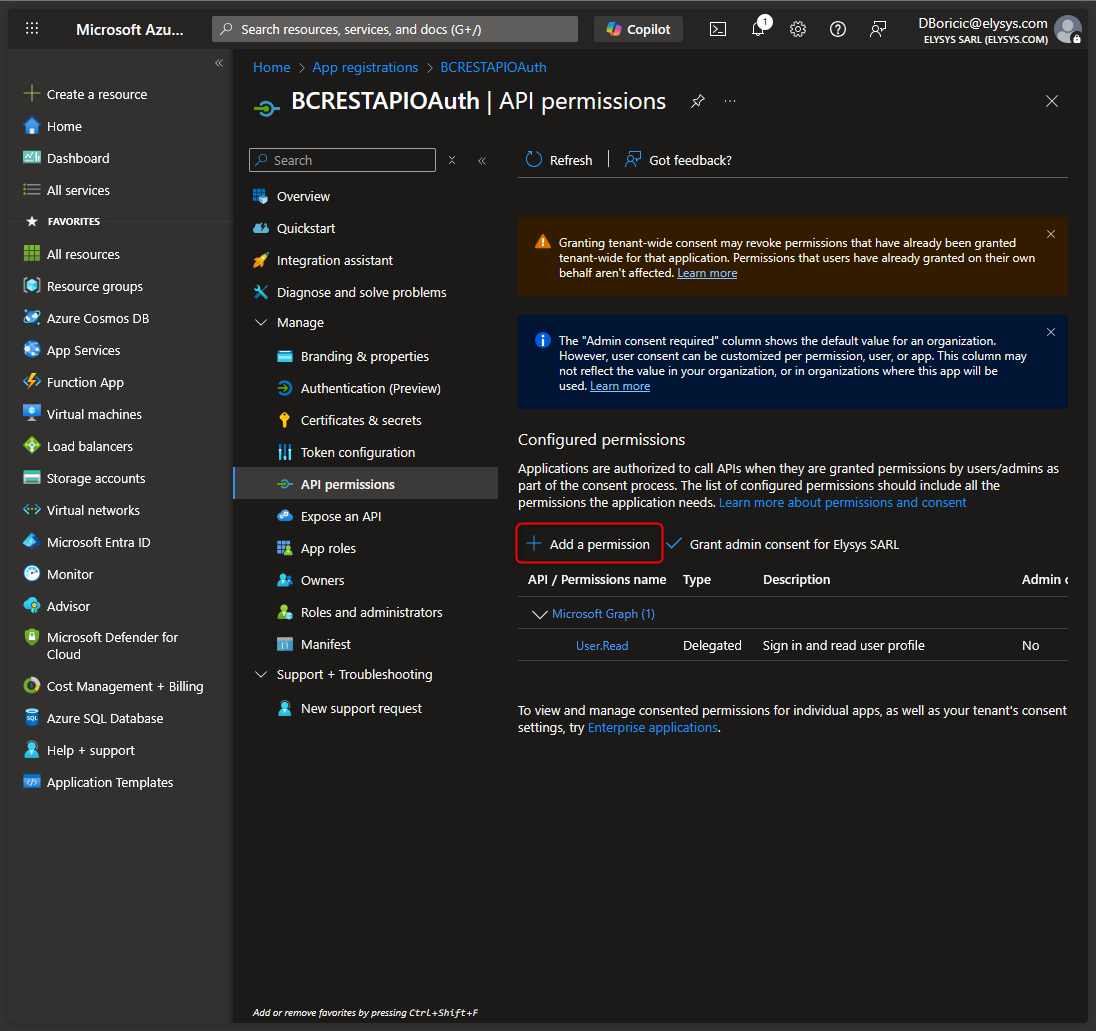 |
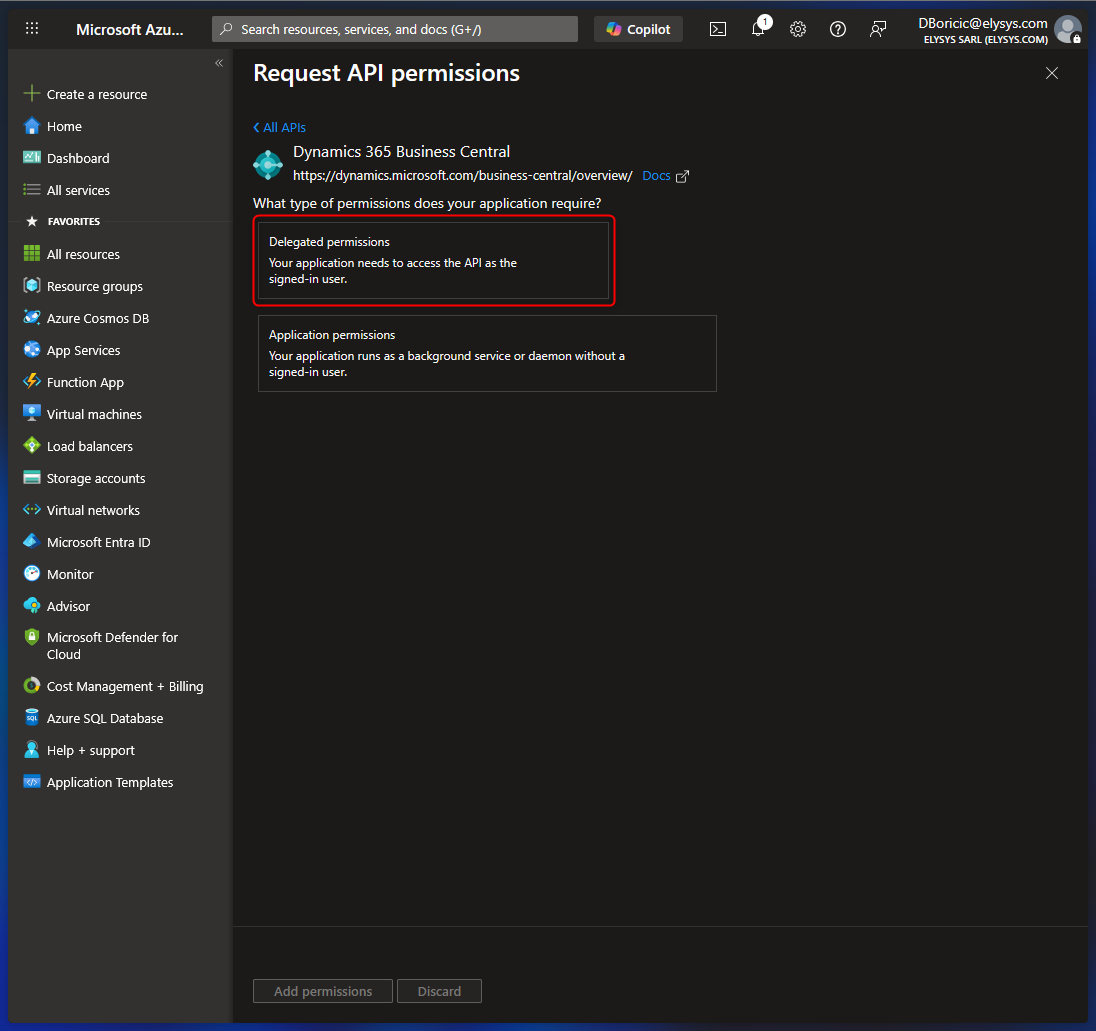
| 5.2. Find Dynamics 365 Business Central and click it. |  |
| 5.3. You can choose the required permissions according to your situation. For example: Choose Delegated permissions. |
 |
| 5.4. Select the permissions, and then choose Add permissions. | 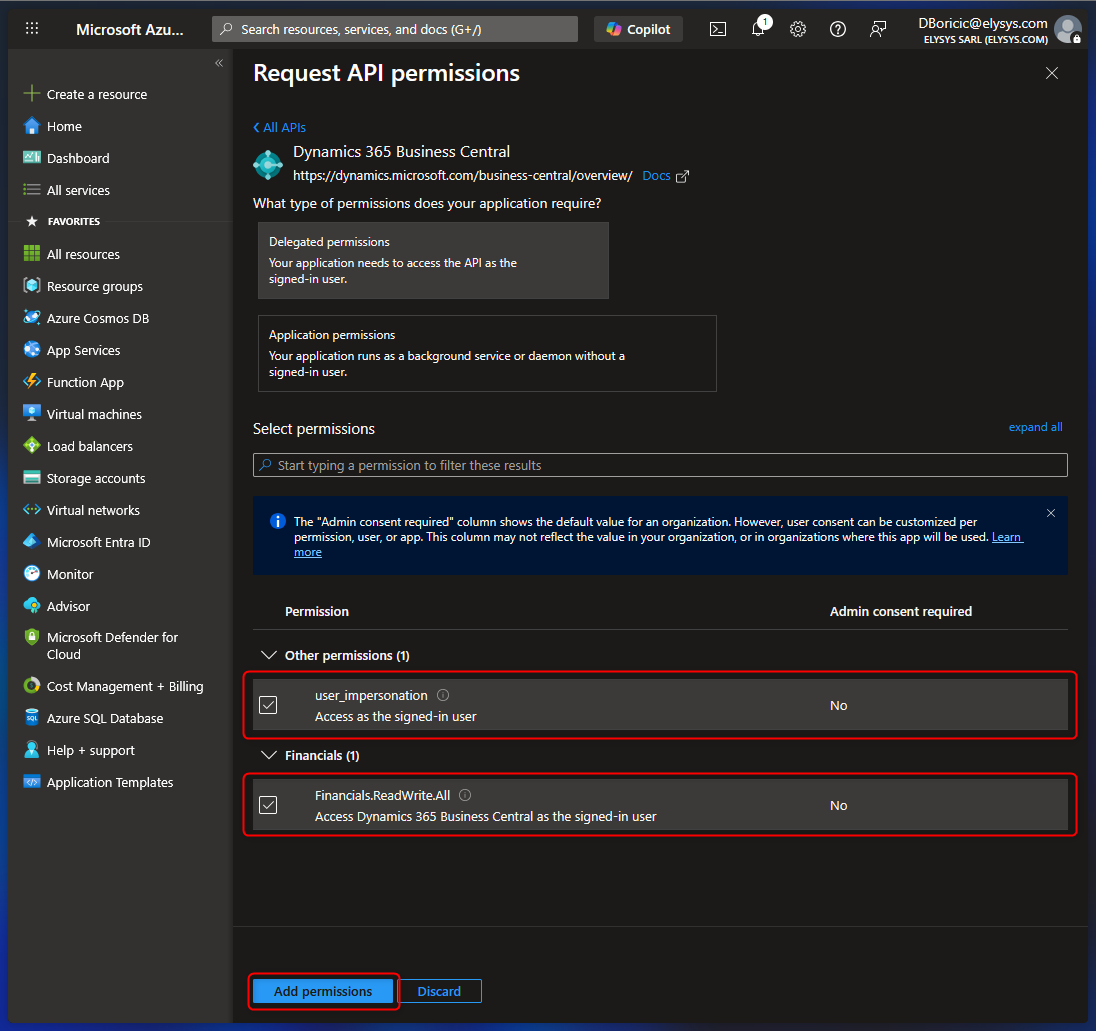 |
| 5.5. Choose Add a permission again. | 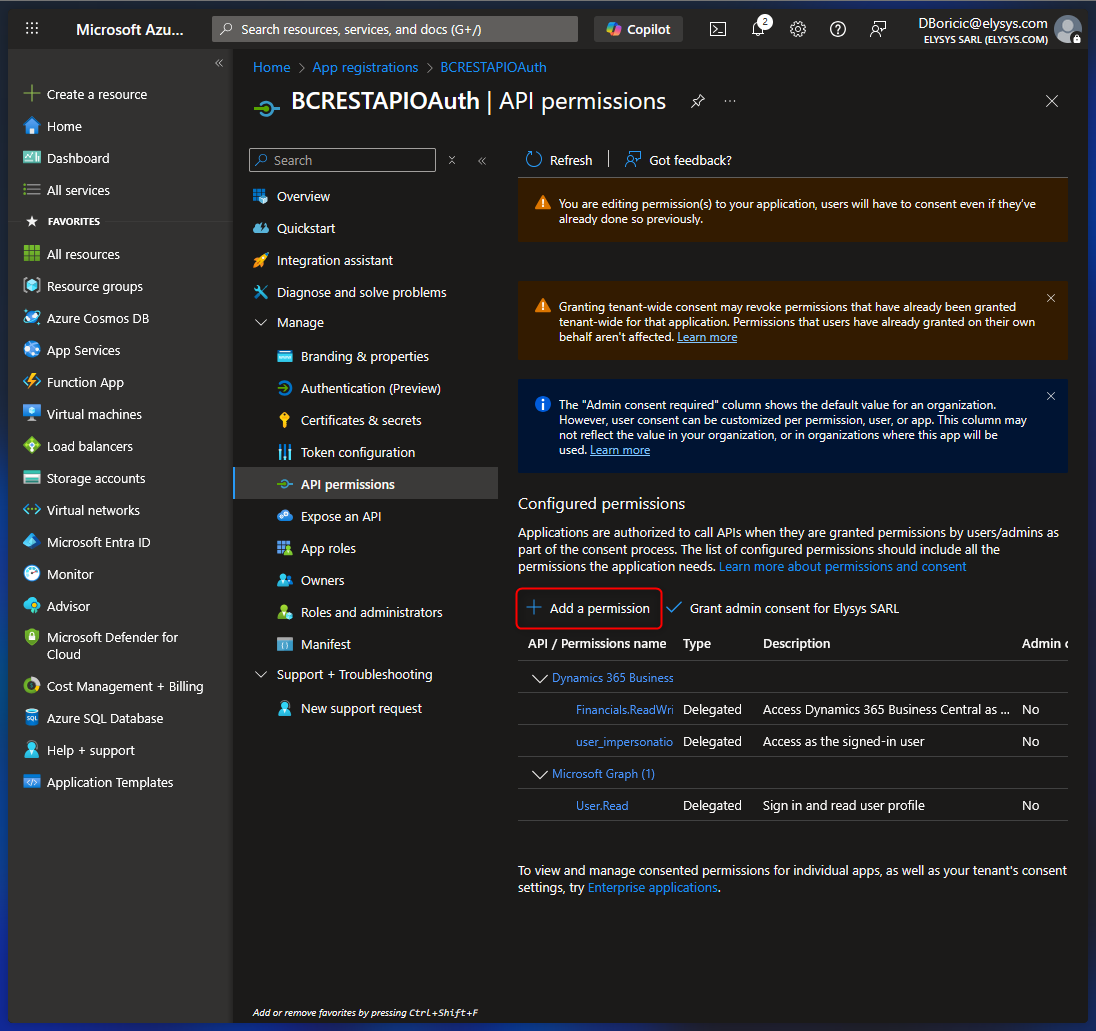 |
| 5.6. Choose Dynamics 365 Business Central. | 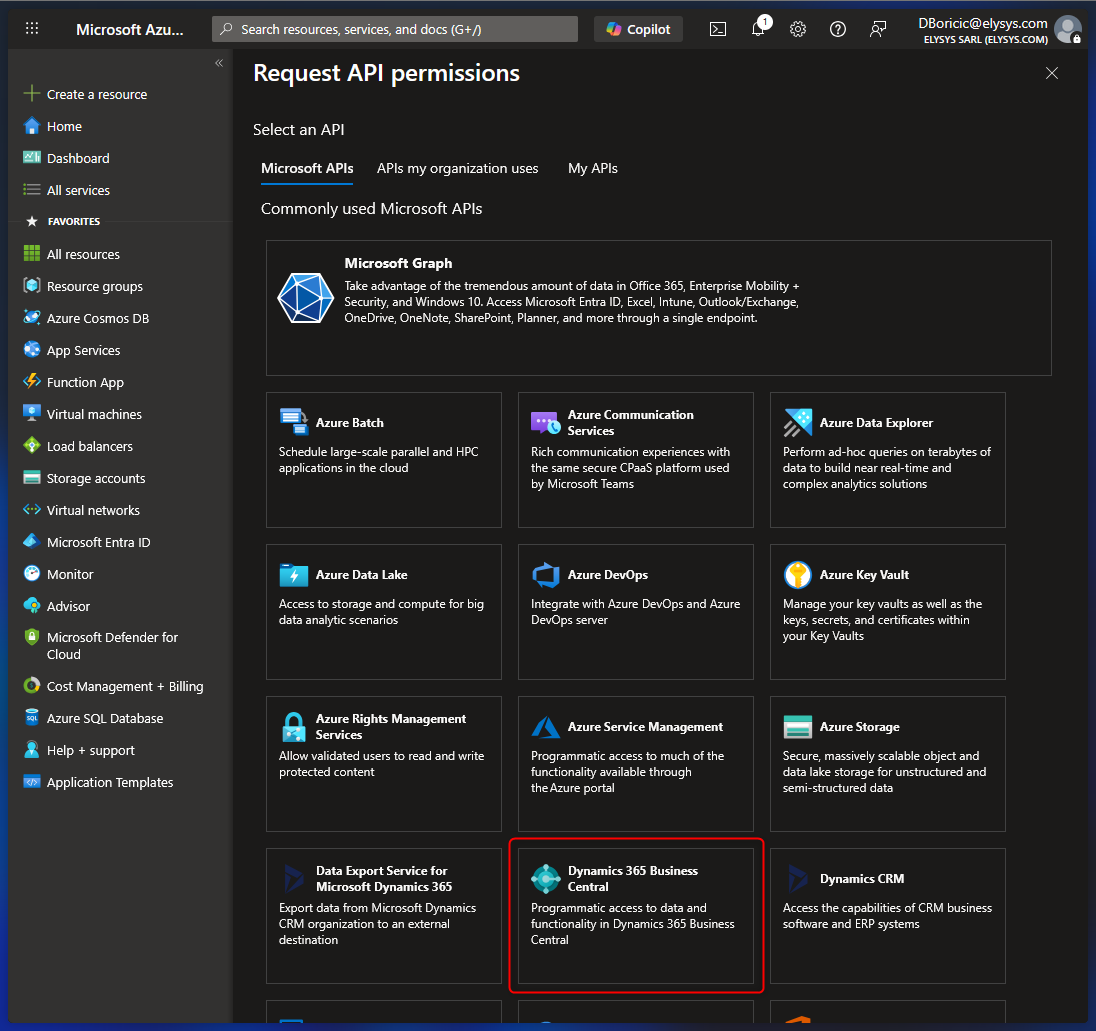 |
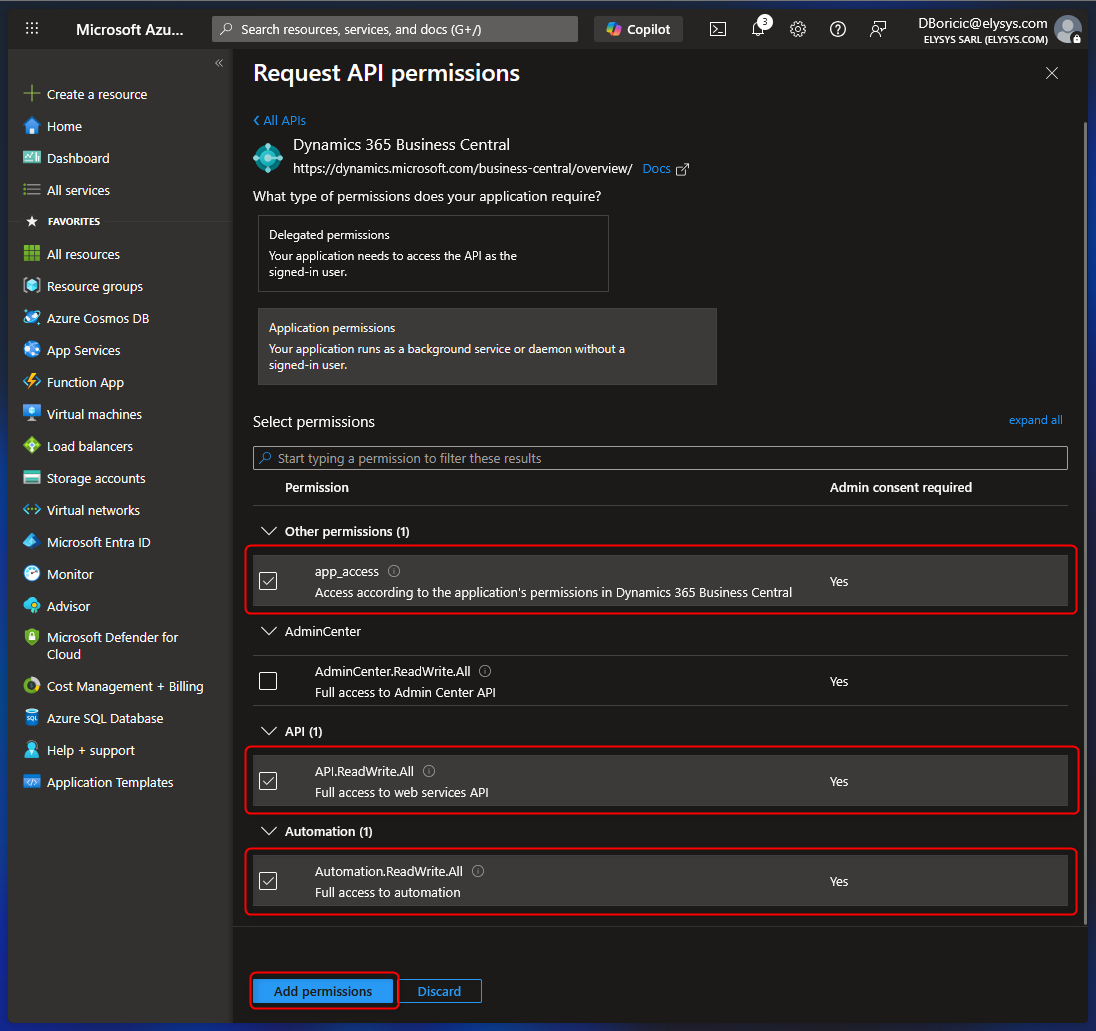
| 5.7. Choose Application permissions this time. | 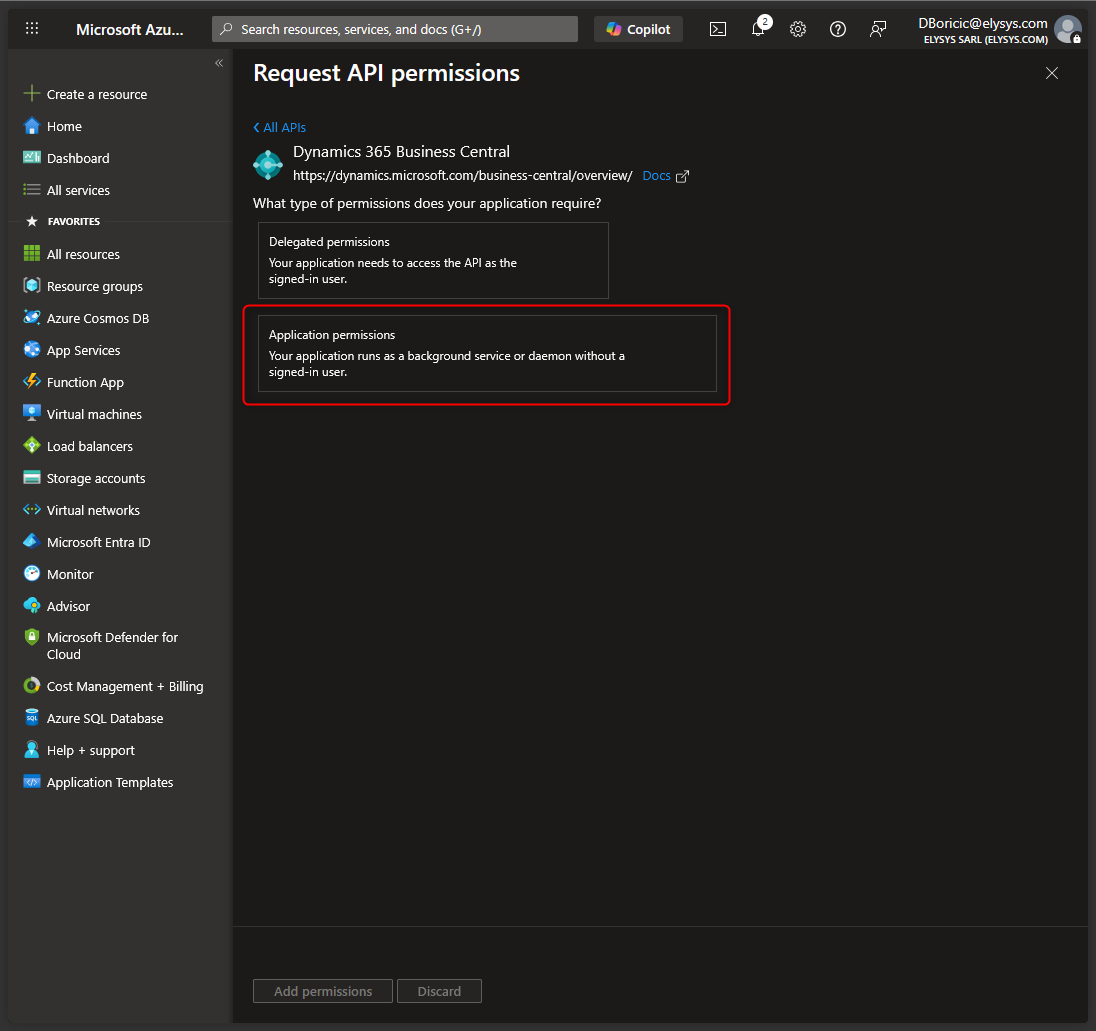 |
| 5.8. Select the permissions shown (app_access, API.ReadWrite.All, Automation.ReadWrite.All), then choose Add permissions. |
 |
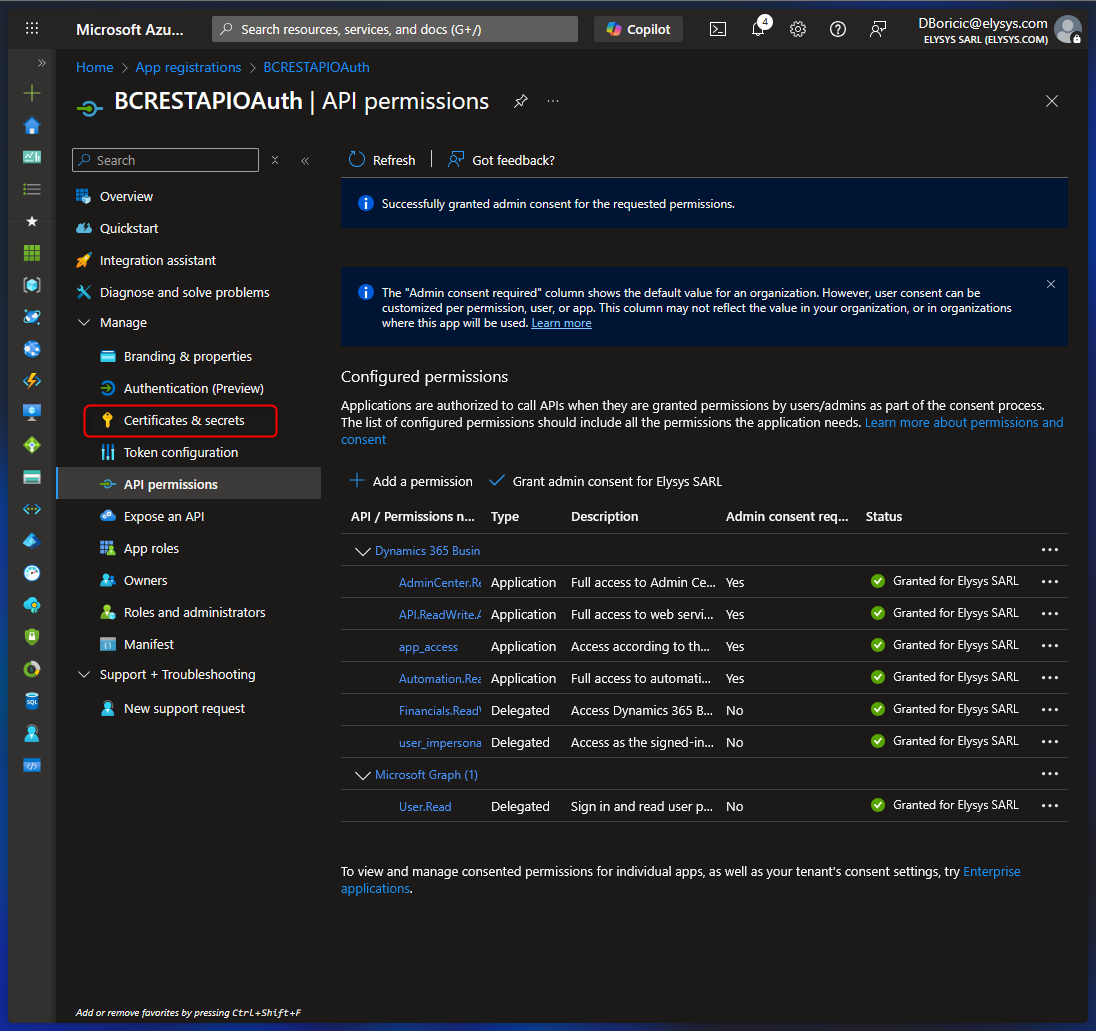
| 5.9. Choose Grant admin consent for <Tenant name>. | 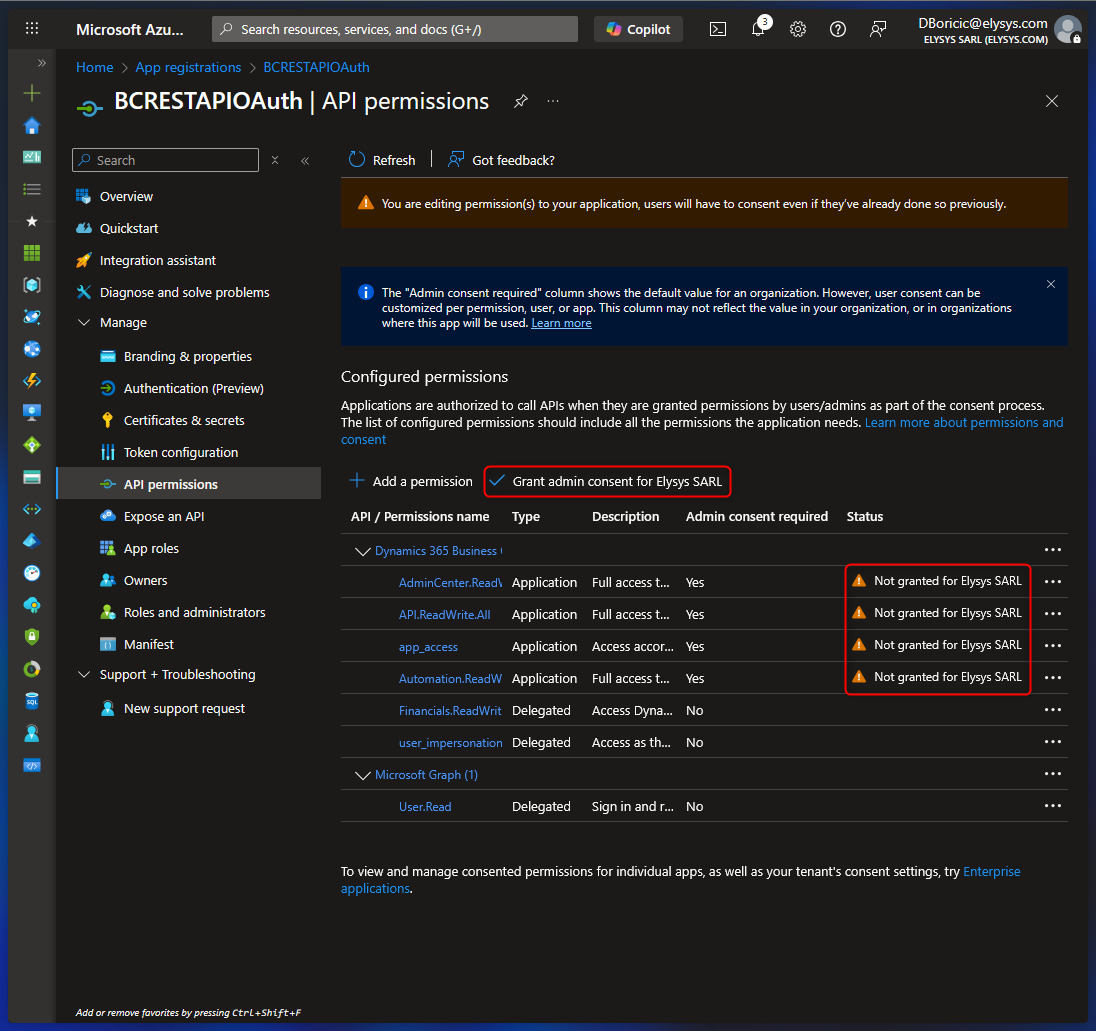 |
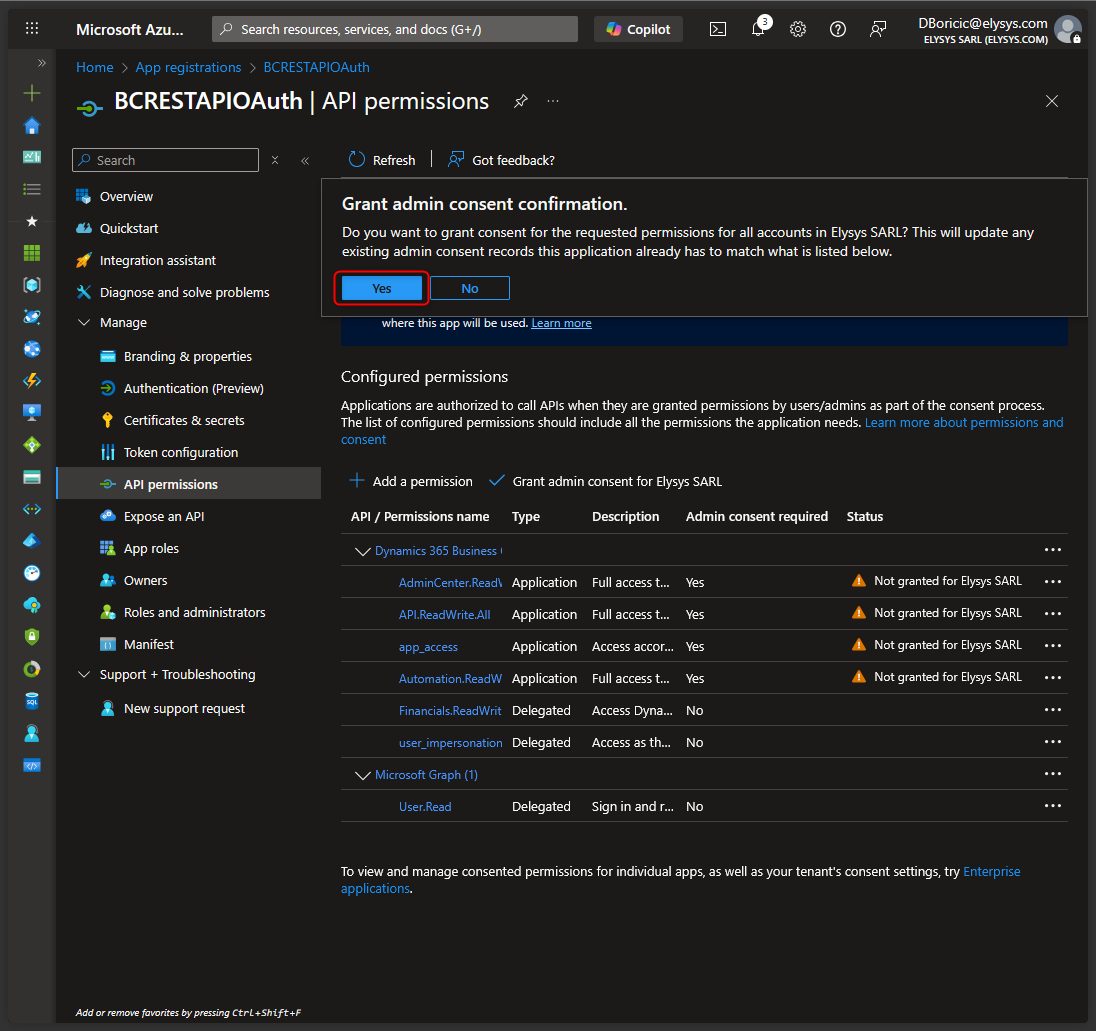
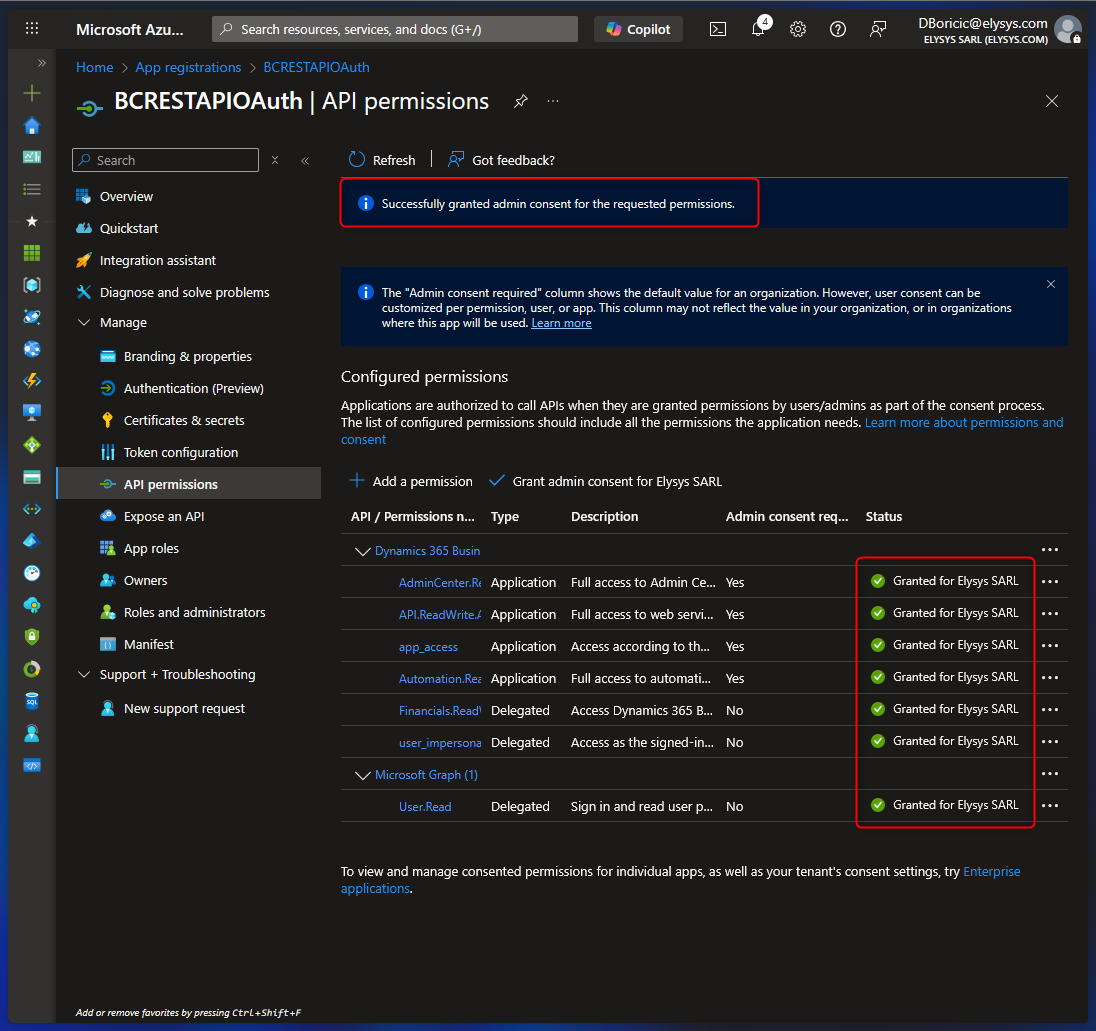
| 5.10. Choose Yes to confirm granting consent. After this, the permissions should show a status indicating consent has been granted. |
 |
 |
|
| 6. Create a client secret In the left menu, select Certificates & secrets. |
 |
| 6.1. Choose New Client secret. | 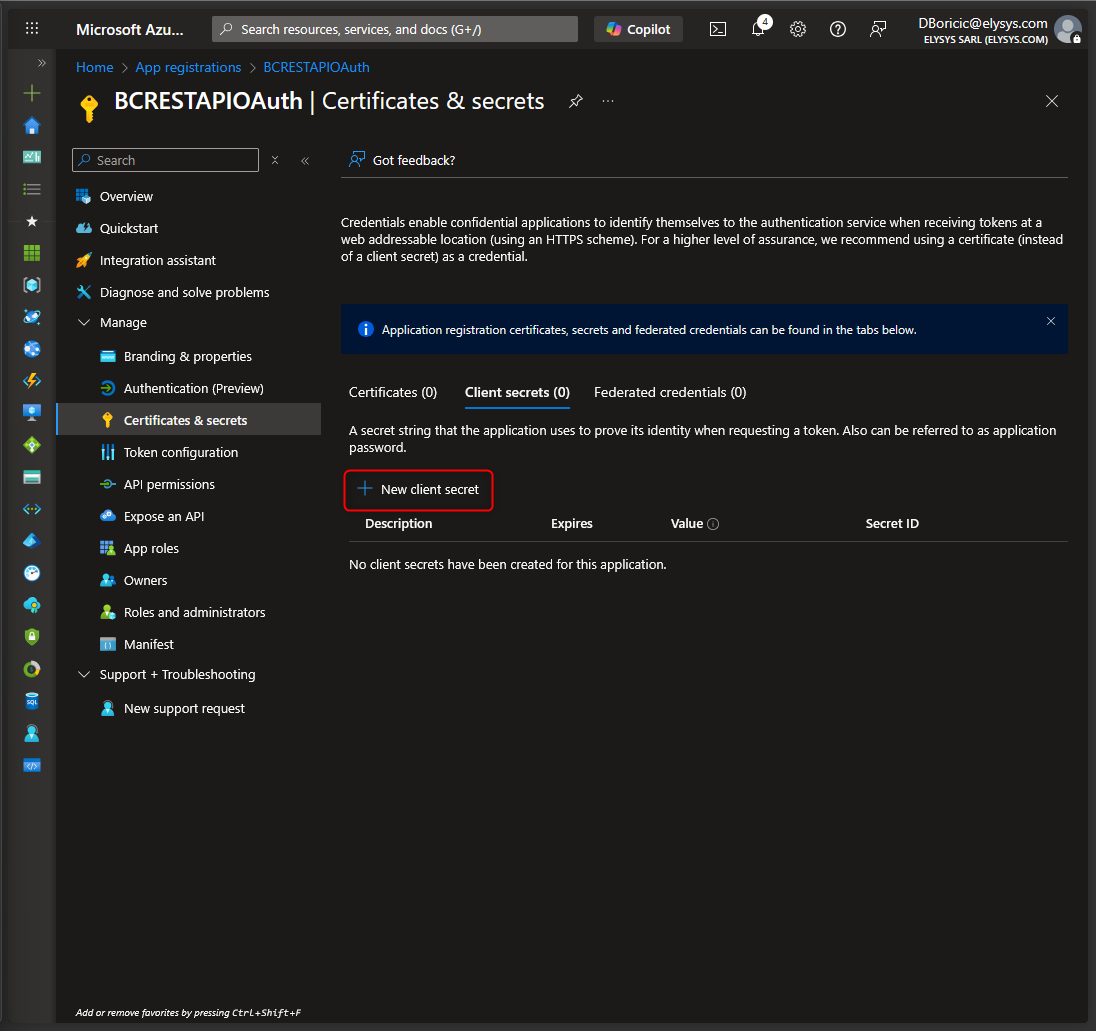 |
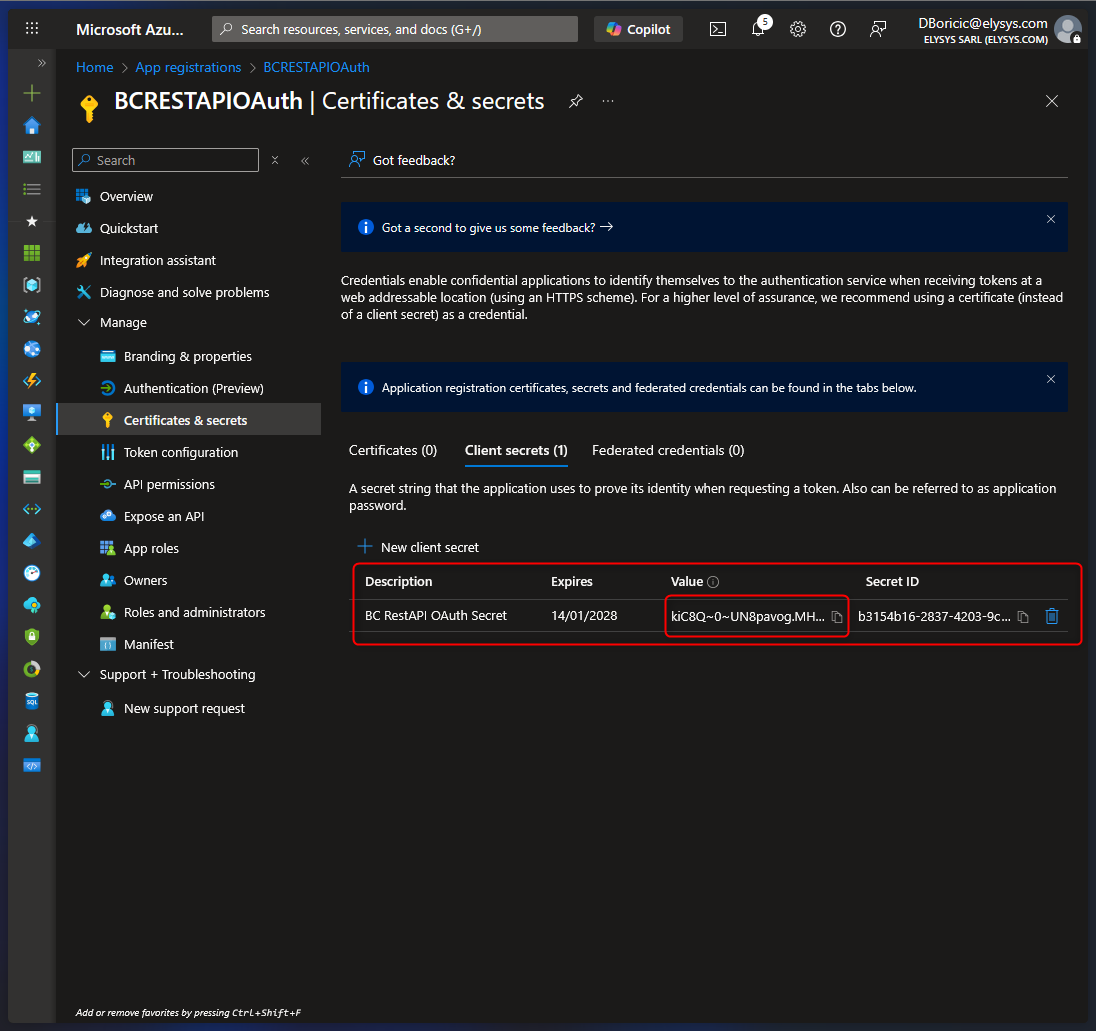
| 6.2. Enter Description and select Expires (Select 24 Months), then choose Add. |  |
| 6.3. Please save the secret value immediately. Copy the Value field as soon as it appears. You will not be able to retrieve it again after leaving the page. Store it in a secure location (Key Vault / password vault). |
 |
| 6.4. Choose Overview. | 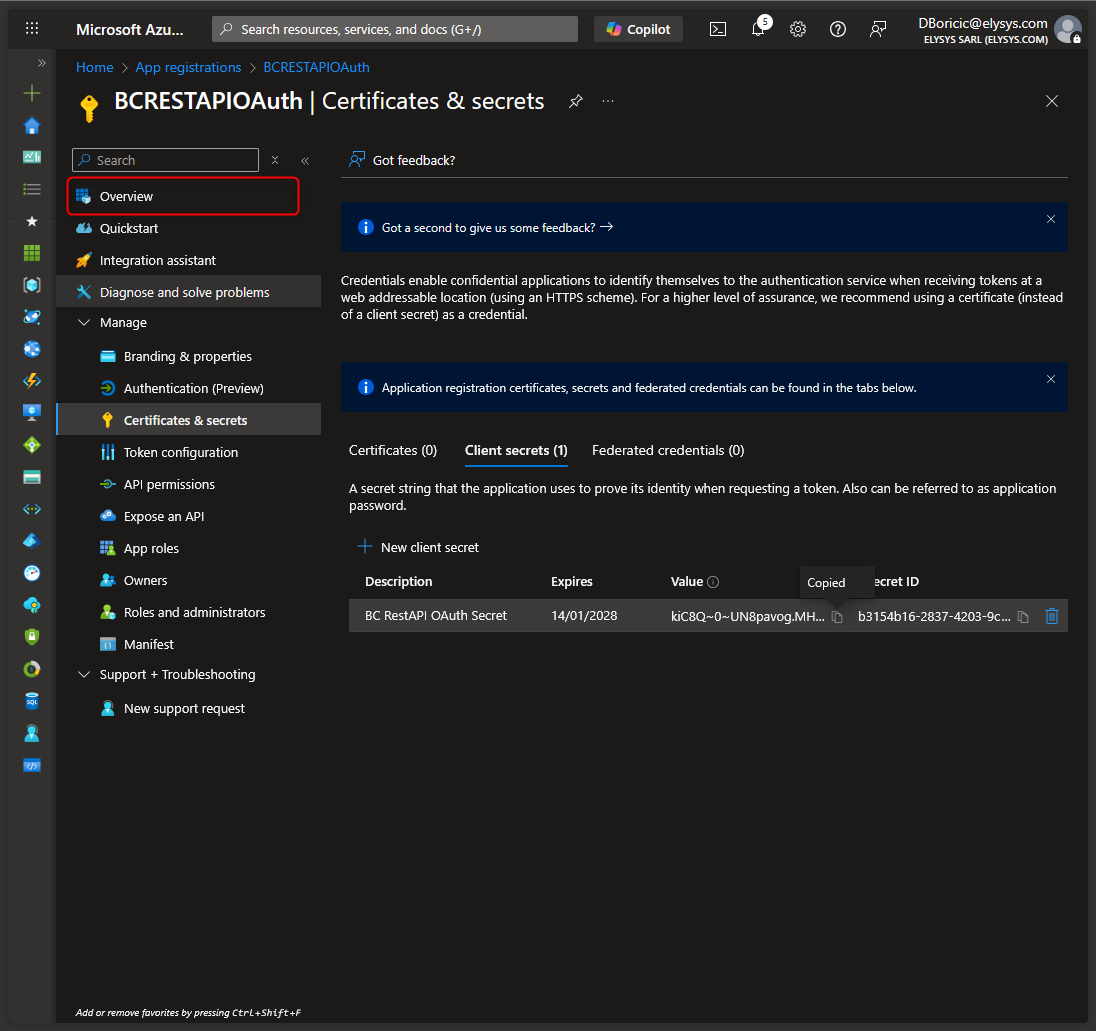 |
| 6.5. Please save the Application ID and Directory ID. | 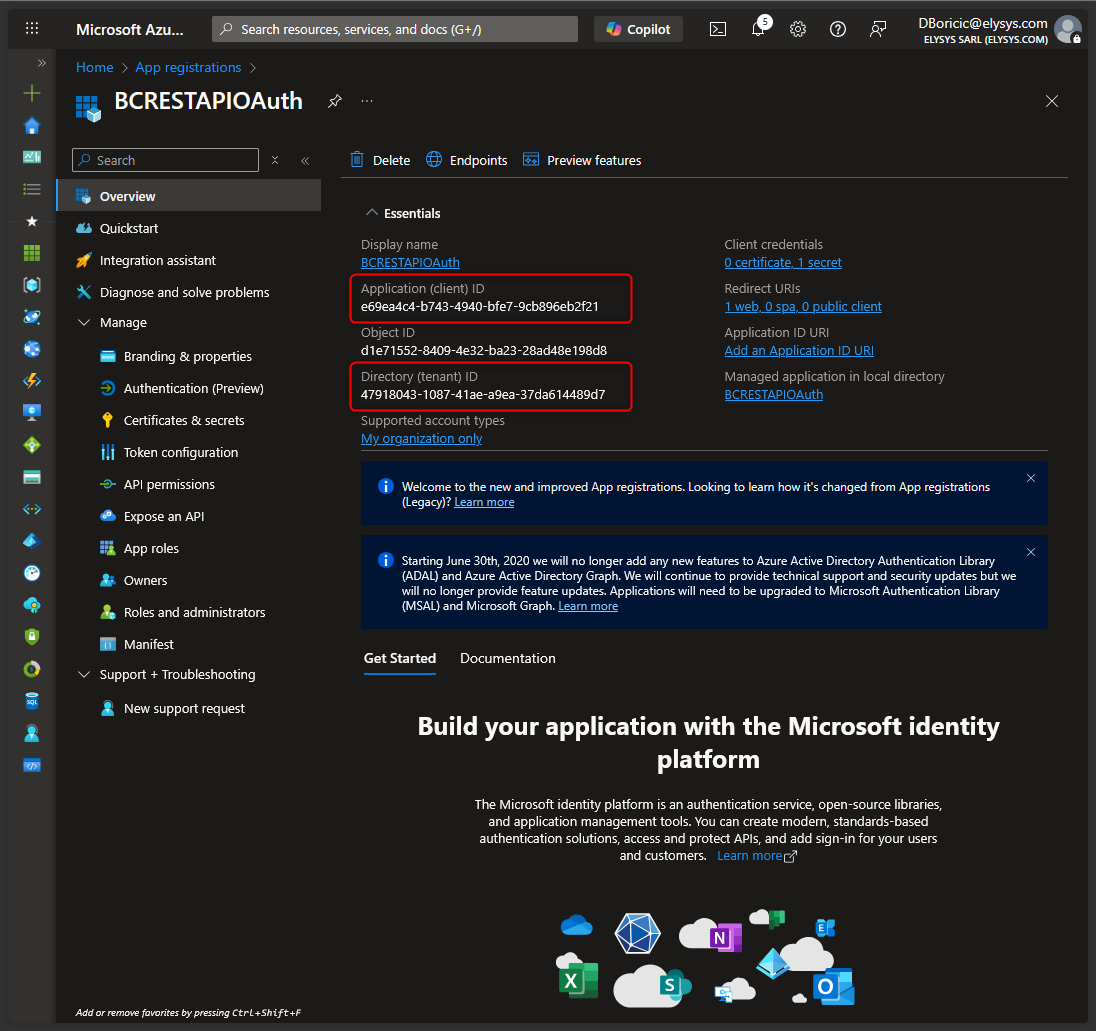 |
We need following information
- Application (client) ID
- Client Secret
- Directory (tenant) ID